Contents
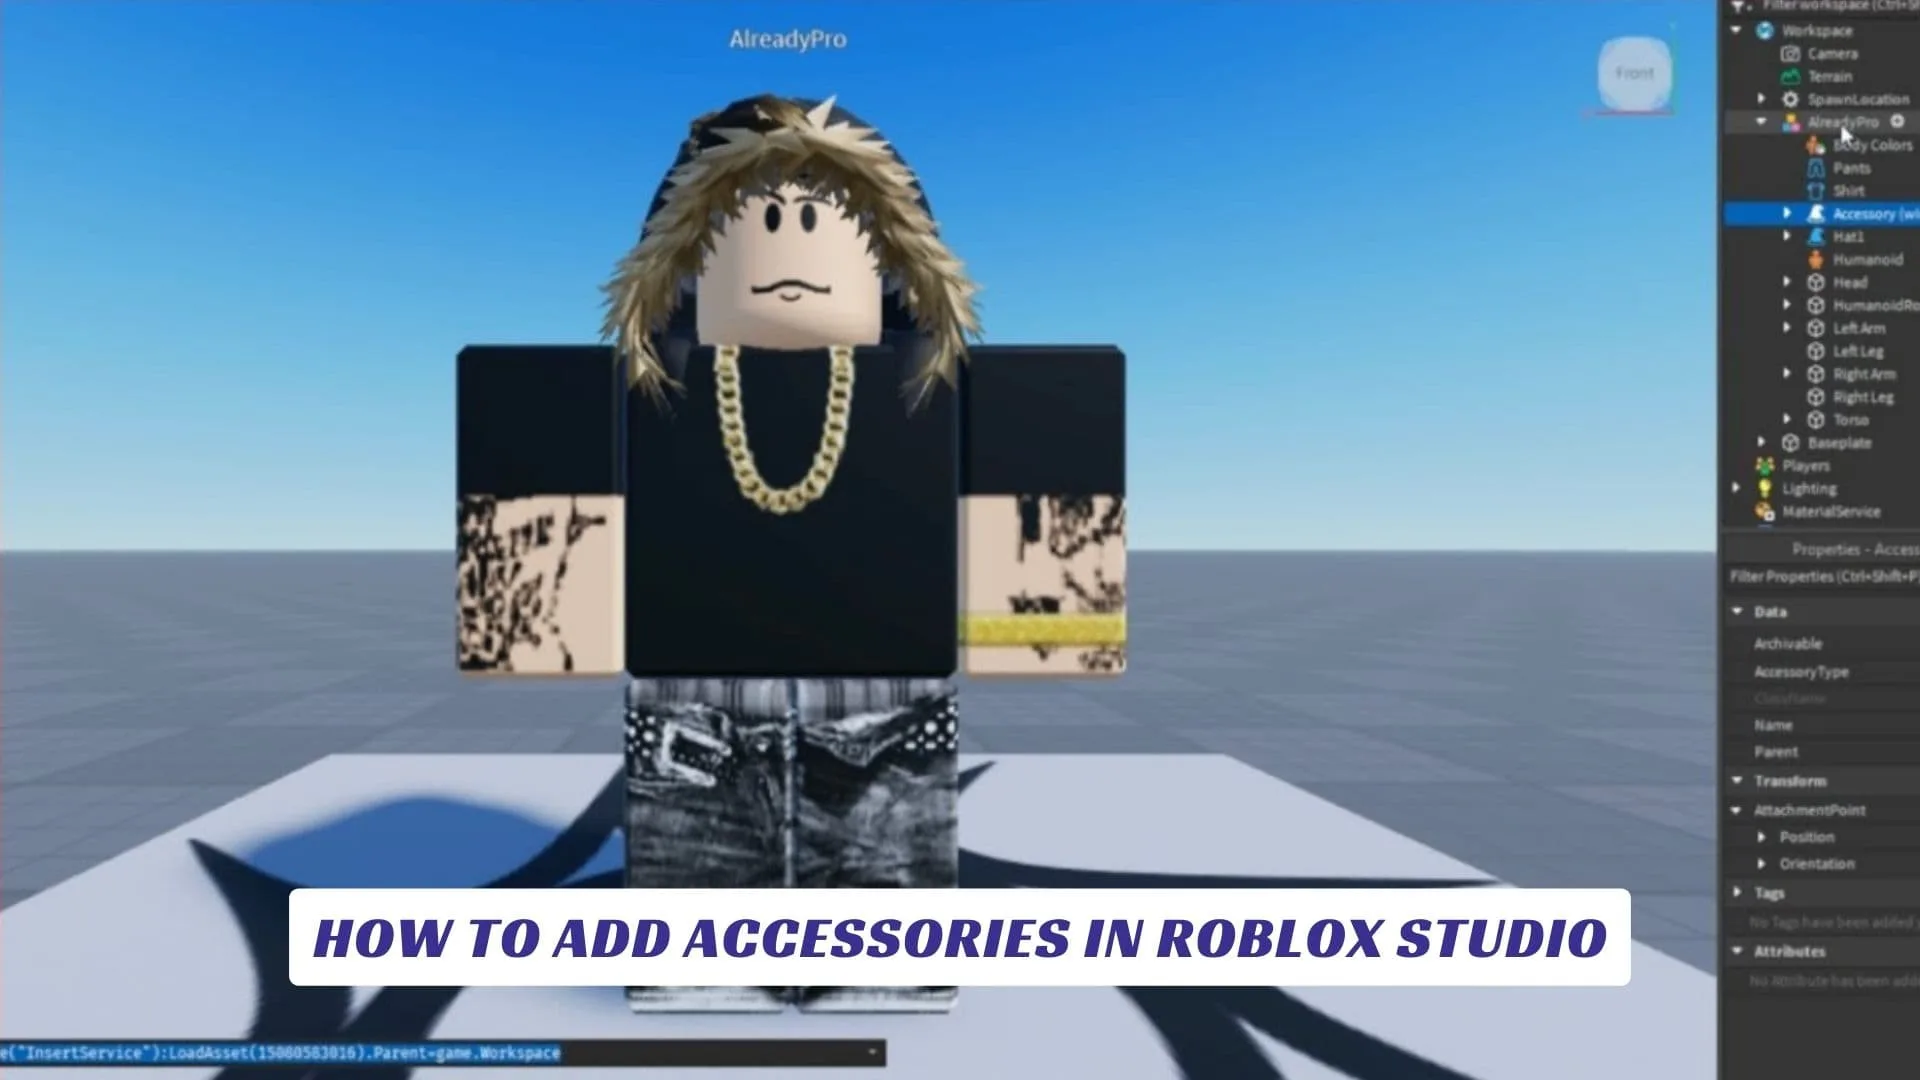
As a Roblox game developer, one of the most exciting features at your disposal is the ability to customize characters and avatars with unique accessories. Knowing how to add accessories in Roblox Studio can take your creations to the next level by adding personality, flair, and functionality to your game. Whether you’re designing hats, glasses, backpacks, or other items, accessories are essential for character customization in Roblox. In this comprehensive guide, we’ll walk you through the steps needed to add accessories to your Roblox Studio creations, explore how you can use accessories to improve player interaction, and offer tips on optimizing these items for smoother gameplay. By the end of this article, you’ll be well on your way to creating cool and dynamic accessories that enhance the look and feel of your Roblox games.
Understanding Roblox Accessories
Before diving into the process of adding accessories to your Roblox Studio game, it’s important to understand what accessories are and why they matter. Accessories in Roblox are cosmetic items designed to customize avatars or characters within the game. These include hats, glasses, wings, and even more intricate items like pets or tools that players can equip to make their characters unique. Accessories help to define the personality of avatars and are often part of monetized game content.
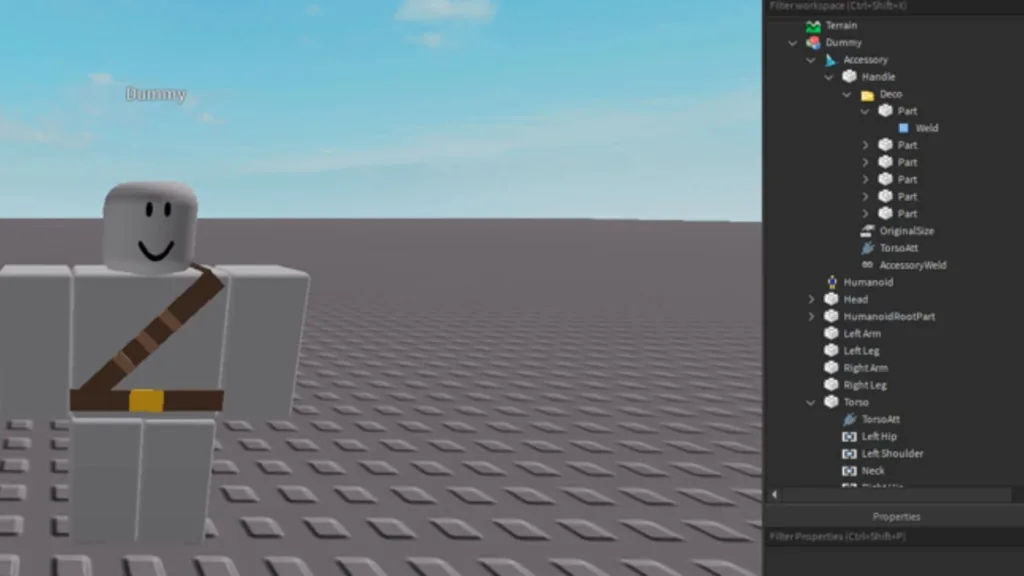
Accessories are stored as MeshParts in Roblox Studio, which are 3D objects that are equipped to players’ characters. As a developer, knowing how to create, import, and manipulate these parts will give you the power to build a more engaging experience for players.
Step-By-Step Guide To Adding Accessories In Roblox Studio
Now that you understand the importance of accessories, let’s dive into the steps required to add them to your Roblox Studio project.
Step 1: Open Roblox Studio
Start by launching Roblox Studio on your computer. If you’re creating a new game, open the Create New option, or if you have an existing project, open it through the My Games tab.
Step 2: Access The Toolbox
To get started with accessories, you’ll need to access the Toolbox in Roblox Studio. This is where you can find pre-made accessories or upload your own. Navigate to the View tab in the top menu and click on Toolbox.
Step 3: Search For Accessories
Once the Toolbox is open, you can search for various accessories by typing keywords like “hat,” “glasses,” or “wings” in the search bar. This will bring up a selection of items that you can use in your game. You can choose from community-made content or upload your own custom accessories.
Step 4: Add Accessories To The Workspace
When you’ve selected an accessory, click on it to add it to your Workspace. The item will automatically appear in the scene, and you can position it as needed. You can also adjust the scale and orientation using the Properties panel.
Step 5: Attach Accessories To The Character
After you’ve placed the accessory in your game, it’s time to attach it to the player’s character. To do this, select the accessory in the Explorer panel, and use a script to attach it to the player’s avatar.
Use a Script like this:
local accessory = game.ServerStorage.Hat -- Reference to the accessory
local player = game.Players.LocalPlayer
local character = player.Character or player.CharacterAdded:Wait()
local humanoid = character:WaitForChild("Humanoid")
accessory:Clone().Parent = character
This script will clone the accessory and parent it to the player’s avatar. You can use similar scripts to attach any accessory to the character’s head, arms, or torso.
Customizing Your Accessories
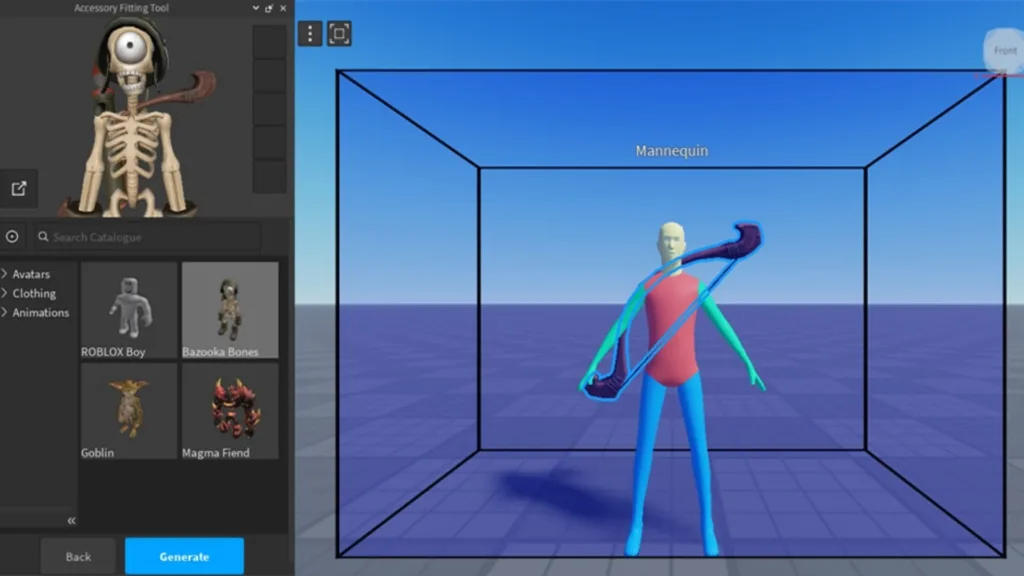
Once you’ve successfully added accessories, the next step is customizing them to match the theme and style of your game. Here are some ways to make your accessories more unique and engaging:
- Use Custom Textures: Apply your own textures to accessories to give them a more personalized look. Custom textures can be uploaded via the Asset Manager in Roblox Studio.
- Add Animations: Make your accessories interactive by adding animations. For example, wings could flap, or hats could bounce.
- Create Exclusive Items: Design limited edition accessories that players can collect as they progress in the game. This gives players something to work toward and adds value to your creations.
Troubleshooting Common Accessory Issues
Sometimes, accessories may not appear correctly or function as expected. Here are some common issues and solutions:
- Accessory Not Showing On Avatar: Check to make sure that the accessory is correctly attached to the character’s bones using the Attachment properties.
- Accessory Clipping With Character: Adjust the Position and Orientation of the accessory to ensure it fits well with the avatar.
- Accessory Not Appearing In Game: Ensure that the accessory is properly replicated to all players and that the ServerStorage has been used to store it.
Tips For Optimizing Accessories In Roblox Studio
As with any game asset, optimizing your accessories for better performance is key to delivering a smooth experience.
- Keep Accessories Lightweight: Complex accessories can affect game performance. Use low-poly models to keep them simple and efficient.
- Test On Multiple Devices: Roblox games run on a variety of platforms, including PC, mobile, and consoles. Make sure your accessories work well on all devices by testing them across different platforms.
- Limit The Number Of Accessories: Too many accessories can clutter the player’s screen and negatively impact performance. Keep accessories fun but functional.


