Contents
Roblox stands as one of the world’s most dynamic video game platforms, celebrated for its endless customization options and player-driven creativity. One of the most exciting features for both casual players and dedicated developers is the ability to personalize avatars with a wide range of accessories—hats, face masks, wings, gear, and more. If you’re eager to learn how to put extra accessories in Roblox, whether you want to stack multiple hats, layer face accessories, or add custom items to your game, this guide will walk you through every essential step. We’ll cover everything from using the Avatar Editor and Roblox Catalog to leveraging advanced tools and scripts for developers, ensuring you can unlock the full potential of Roblox accessories. Keywords such as Roblox accessories, avatar customization, advanced accessories, Roblox Studio, and accessory layering are central to this process and will help you master the art of avatar personalization on Roblox.
Understanding Roblox Accessories
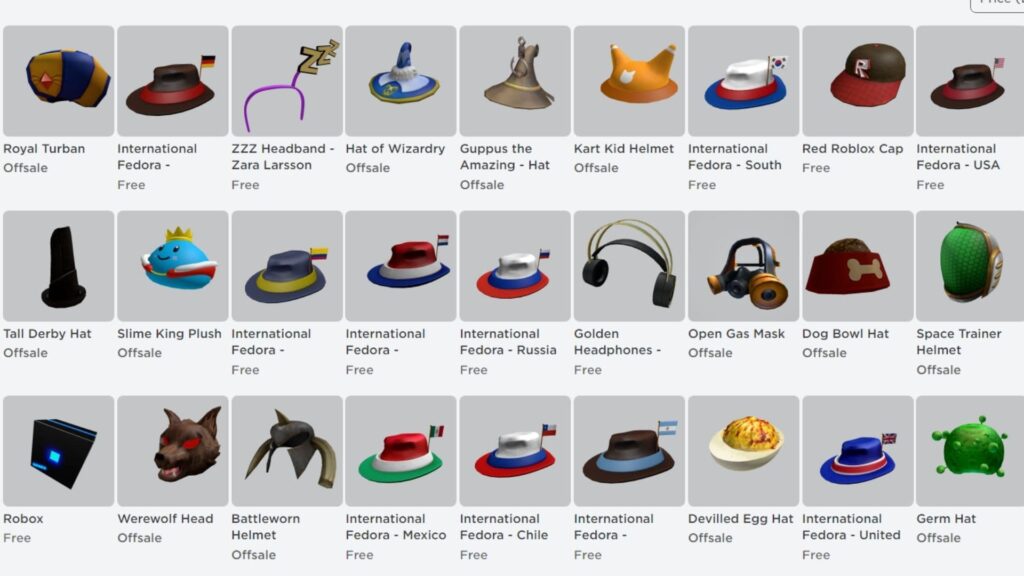
Roblox accessories are digital items that players can equip to their avatars to enhance their appearance or provide in-game functionality. Accessories are divided into several categories, including hats, face accessories, neck items, shoulder companions, back gear, and more. Each type offers unique customization options, allowing users to express their personality and stand out in the vast Roblox universe.
Main Accessory Types
| Type | Description |
|---|---|
| Hats | Worn on the head, from simple caps to elaborate crowns |
| Face Accessories | Glasses, masks, and other facial enhancements |
| Neck Accessories | Scarves, necklaces, ties |
| Shoulder Accessories | Pets, plushies, or decorative items |
| Back Accessories | Wings, backpacks, jetpacks |
| Gear | Usable items like swords or tools |
| Emotes | Animated expressions and poses |
How to Equip Multiple Accessories as a Player
Using the Avatar Editor
The standard Roblox Avatar Editor allows you to equip one accessory per category (e.g., one hat, one face item). However, with a few extra steps, you can layer multiple accessories of the same type:
- Access the Avatar Editor: Click the menu (three lines) in the top left, then select “Avatar.”
- Choose Accessory Category: Select the accessory type you want to layer (e.g., face, neck).
- Equip the First Accessory: Click to equip your first item.
- Get the Asset ID for Additional Accessories: Visit the accessory’s catalog page, copy the asset ID number from the URL6.
- Use the Advanced Menu: In the Avatar Editor, click “Advanced” (usually at the bottom of the accessory section). Paste the asset IDs of additional accessories into the provided fields and save.
- Refresh Your Avatar: Your avatar should now display multiple accessories of the same type.
“You can equip up to ten accessories via the copy-pasted IDs on the advanced thingy… Go to advanced and put the IDs of the face items.”
Browser Extensions
Some browser extensions, like RoPro or Better Roblox, can make accessory layering even easier. These tools allow you to bypass some of Roblox’s default limitations, but always use caution and verify the safety of third-party tools before installation.
How to Add Extra Accessories in Roblox Studio (For Developers)
If you’re a Roblox developer, you can add custom accessories to player avatars within your games using Roblox Studio. Here’s how:
- Create a New Accessory Model:
- Open Roblox Studio and create a new model for your accessory.
- Design your accessory using built-in modeling tools (Primitives or Mesh).
- Make the Accessory Wearable:
- Add a “Part” to your model and set its properties (ClassName: Accessory, CanCollide: False).
- Add the Accessory to the Game:
- Save your accessory as an asset in the Assets tab.
- Script the Accessory to Attach to Players:
- Use a script to add the accessory to the player’s character: lua
local player = game.Players.LocalPlayer local accessory = game.ReplicatedStorage.Accessory player.Character.Accessory = accessory - For multiple accessories, use an array: lua
local accessories = {game.ReplicatedStorage.Accessory1, game.ReplicatedStorage.Accessory2} player.Character.Accessory = accessories - Accessories can also be dynamically assigned when players join or perform certain actions.
- Use a script to add the accessory to the player’s character: lua
- Test and Refine:
- Run your game and ensure the accessories display and function as intended.
Advanced Accessory Tips
- Experiment with Layering: Try different combinations to achieve a unique look.
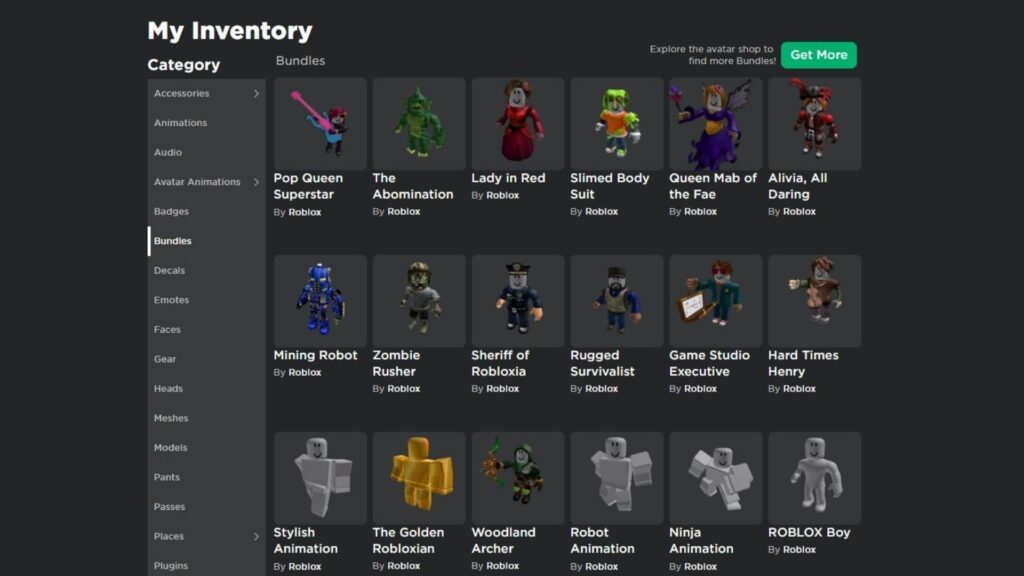
- Organize Your Inventory: Use the “Sort” feature to quickly find and manage accessories.
- Use User-Generated Content (UGC): Explore accessories made by other players for more variety.
- Check Compatibility: Some accessories may not work together due to mesh conflicts or category restrictions.
Frequently Asked Questions
Q: Can I wear more than one accessory of the same type?
A: Yes, by using the Advanced menu in the Avatar Editor and entering multiple asset IDs, or by using browser extensions.
Q: How many accessories can I equip at once?
A: Roblox currently allows up to ten accessories using the advanced method, though practical limits may vary.
Q: Can developers add accessories to players in their games?
A: Absolutely. Developers can script accessories to attach to player avatars using Roblox Studio.
