Contents
- What Makes Selena A Great Starting Region
- Early-Game Survival: First 60 Minutes
- Best Starter Base Locations
- Resource Routing On Selena
- Wreck Exploration And Loot Flow
- Terraforming Milestones: A Clean Progression
- Power Management Without The Pain
- Mid-Game Base Expansion
- Beacons, Navigation, And Not Getting Lost
- Inventory, Storage, And Smarter Hauling
- Late-Game Projects That Shine On Selena
- Common Mistakes To Avoid
- Quick Beginner Route (Template)
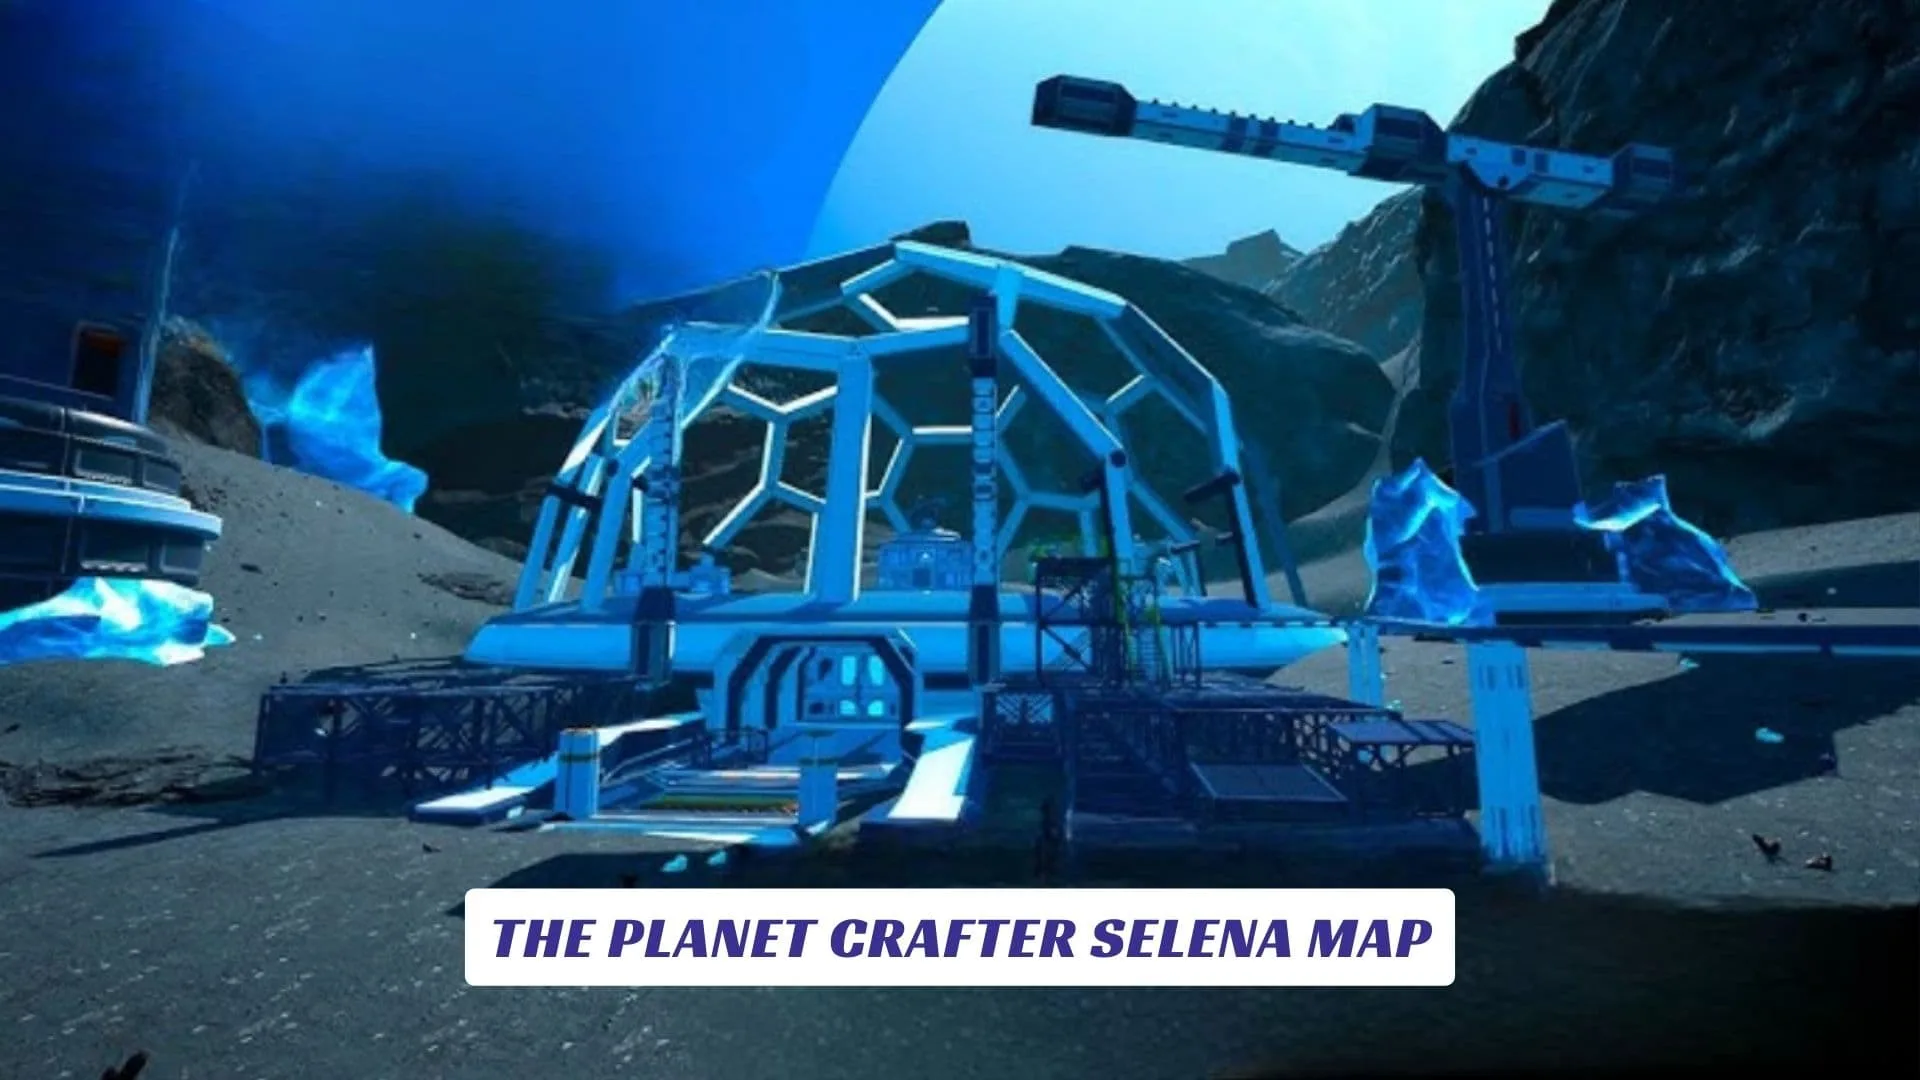
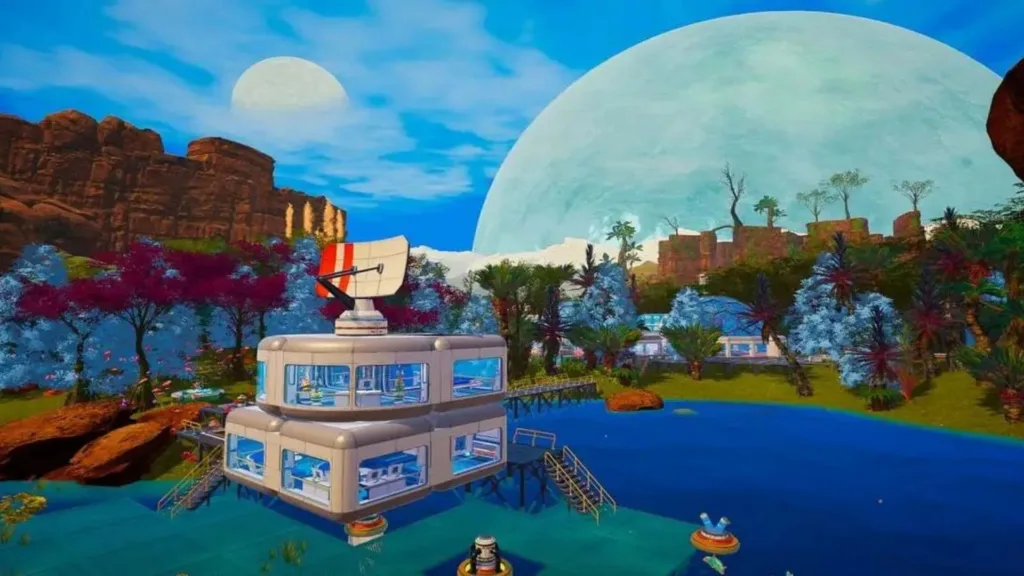
If the idea of discovering a new biome, plotting a perfect base, and squeezing maximum efficiency from every oxygen canister makes your builder-brain sing, The Planet Crafter Selena Map is the expedition worth planning for. In this guide, we’ll chart the Selena region with a focus on navigation, resource routing, early-game survival, and mid-to-late-game terraforming progression. Expect practical advice on where to set up a starter base, how to chain your oxygen refills with smart waypoints, and how to route must-have materials like iron, cobalt, silicon, aluminum, osmium, and super alloy without wandering blind. We’ll talk lootable wrecks, cave entrances, chest spawn tendencies, safe paths between biomes, and how to scale up pressure, heat, oxygen, and biomass production while balancing energy. Whether it’s finding a reliable water source, optimizing your blueprint unlocks, or scouting the best vantage points for wind and solar, this Selena map breakdown brings a tight, game-focused strategy that helps both new terraformers and returning players. Keywords: The Planet Crafter Selena map, Selena region guide, resource locations, base locations, osmium cave, super alloy route, blueprint unlocks, wreck exploration, chest spawns, terraforming progression, oxygen management, energy grid planning.
What Makes Selena A Great Starting Region
Selena offers a compelling blend of accessibility and expansion potential. Terrain visibility is decent, the resource spread supports steady early crafting, and there are multiple natural landmarks that make navigation intuitive. It’s forgiving enough for beginners—especially those still juggling oxygen, inventory, and hydration—yet large and layered enough for veterans to route efficient farming loops and push terraforming milestones quickly.
Early-Game Survival: First 60 Minutes
- Prioritize basics: craft oxygen tank upgrade, backpack upgrade, and a living compartment with door for instant O2 refills.
- Build near flat ground with line-of-sight to distinctive rocks or a wreck; easy landmarking prevents getting lost.
- Set up a water collector as soon as possible; stash spare bottles and drop a chest for overflow iron and cobalt.
- Place a beacon at your base. Color-code it early to make the return path obvious in low visibility.
- Scatter micro-shelters (1 living compartment + door) every few minutes of walking between key nodes to create an O2 safety net.

Best Starter Base Locations
- Slightly Elevated Flats: Gentle slopes with clear sky for early solar and wind, plus easy expansion.
- Near A Wreck Or Cliff Face: Provides orientation, nearby loot, and protection from sand-blast visibility dips.
- Adjacent To Mixed Nodes: Iron/silicon/cobalt within a short loop shortens crafting runs and accelerates upgrades.
Resource Routing On Selena
- Iron, Silicon, Cobalt: Sweep open flats and foothills; prioritize iron early for containers, platforms, and structural growth.
- Ice/Water Access: If ice persists in your version, harvest early; otherwise, fast-track atmospheric water collector to stabilize hydration.
- Aluminum: Scan for pale, reflective patches or route toward wreck-adjacent fields; mark with beacons once found.
- Osmium: Watch for frosted caves and temperature-gated tunnels; come back when heat milestones allow passage.
- Super Alloy: Cliffside veins and distinct “shimmer” paths; plan a loop and keep an empty row in inventory.
- Uranium/Iridium: Early scraps from wrecks and chests, later via dedicated caves or rockets once infrastructure grows.
Pro tip: Build compact “route boxes” (single chest + beacon) at the edge of each resource zone. Drop overflow, then shuttle back with exoskeleton inventory upgrades to reduce dead time.
Wreck Exploration And Loot Flow
- Bring extra oxygen and water, plus two inventory slots for surprise finds.
- Place a beacon outside each wreck’s entrance; color it differently after you’ve fully looted it.
- Deconstruct everything you can—lockers, wreck frames, micro-machines—to grab hidden components and blueprint microchips.
- Don’t leave behind fabric, seeds, or circuit boards; they accelerate later growth, especially for biomass and decorative quality-of-life.

Terraforming Milestones: A Clean Progression
- Pressure: Drill scaling first to open mid-tier devices and speed unlocks; aluminum and titanium management matter here.
- Heat: Heaters unlock crucial environmental gates; watch your energy budget.
- Oxygen: Spread vegtubes and prioritize tier upgrades; seed choice meaningfully impacts progression speed.
- Biomass: Algae generators and tree spreaders shift late-game momentum. Keep water access and fertilizer inputs reliable.
- Rockets: Resource and mapping rockets sharply boost efficiency. Time launches after stabilizing power and storage.
Power Management Without The Pain
- Start with wind for baseline uptime; layer solar for peak output.
- Elevate panels on platforms to avoid terrain snagging and create neat maintenance aisles.
- Keep one “power buffer” chest with spare cobalt, magnesium, aluminum, and rods to drop emergency generators when production dips.
- Periodically audit energy draw versus production; new heaters and drills can silently tip you negative.
Mid-Game Base Expansion
- Central Bus Layout: Core crafting room, storage wing with labeled lockers, power yard, and a greenhouse chain.
- Verticality Helps: Multi-floor builds separate logistics (smelting/crafting) from organic growth (seeds, food, algae access).
- Telemetry Corner: Keep blueprint microchips and mapping screens in one hub so upgrades aren’t scattered.
- Conveyance: Place launch pad and fabricators close together; keep a “rocket kit” chest stocked with super alloy and engines.
- Color Code: Base (blue), resource zones (green), wrecks (yellow looted, red unlooted), caves (cyan), late-game projects (purple).
- Sightlines: Use tall rock pillars as natural arrows; place beacons on high ground where possible.
- Weather Awareness: In low-visibility weather, rely on beacon colors, not terrain memory.
Inventory, Storage, And Smarter Hauling
- Early: One chest per resource. Label them immediately to avoid clutter paralysis.
- Mid: Consolidate into tidy rows with signage—iron, silicon, cobalt, titanium, aluminum, super alloy, osmium, uranium, iridium, rods, seeds, food, misc.
- Late: Convert raw to rods where appropriate to compress footprint, and keep a mobile “expedition kit” (oxygen, water, food, beacon, titanium/iron for shelters).

Late-Game Projects That Shine On Selena
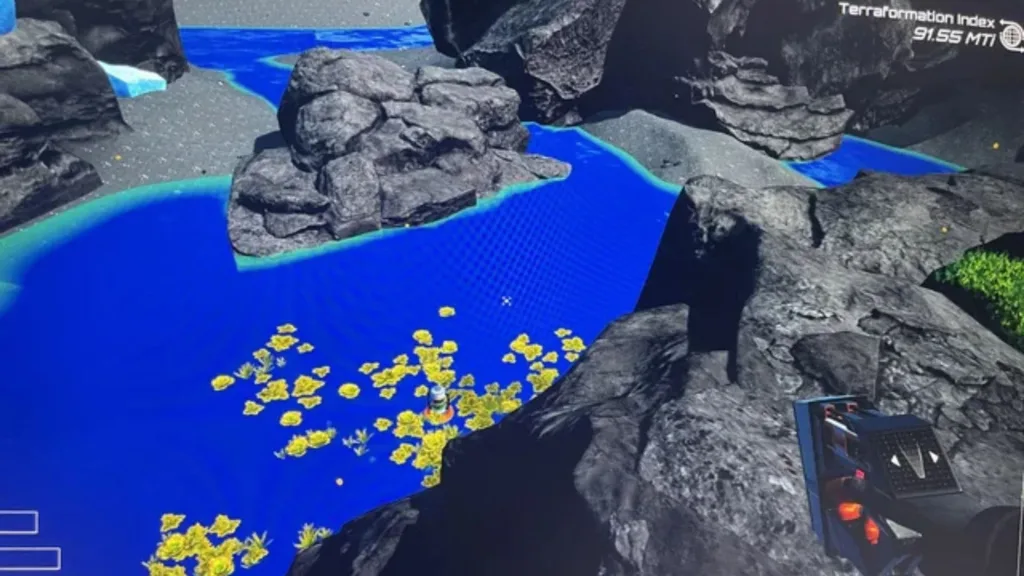
- Aquatic Farming: Algae and water-based production scale well if you’ve centered near lakes or lowland basins.
- Forest Lines: Lay tree spreaders along ridges for cinematic skylines and easy seed maintenance loops.
- Rocket Cadence: Pair resource rockets with timed farming runs to maximize yield per play session.
Common Mistakes To Avoid
- Overcommitting Power Early: Build heaters/drills in batches and check energy before placing the next tier.
- Ignoring Micro-Shelters: A single O2 hut can save a full inventory after a long wreck run.
- Hoarding Unsorted Loot: If you can’t find it, you don’t own it—label storage the moment it’s placed.
- Skipping Beacons: Selena is generous, but distance punishes; navigation tools are time machines.
Quick Beginner Route (Template)
- Drop pod → craft upgrades → place first shelter on flat ground.
- Scout nearest wreck → beacon it → quick loot pass for chips and food.
- Establish water, power yard, and labeled storage.
- Run a triangular loop through iron/silicon/cobalt fields, stock up, expand drills/heaters.
- Mark aluminum/super alloy zones → set route boxes → plan weekly farming loops.
- Push heat to open gated caves; route osmium for higher-tier devices.
- Stabilize energy, then begin rocket launches to accelerate everything.


