Contents
Taking on a mission in Helldivers 2 isn’t always a matter of simply firing away at enemies. One of the most critical and strategic missions to pursue is the objective of ammunition stockpiles. Achieving this objective can significantly weaken the Automaton forces.
As you progress through the game, especially at medium difficulty levels, you’ll find that missions targeting the Automaton’s ammunition reserves become increasingly important. To complete these missions successfully, you’ll need to use the Hellbomb Stratagem, a tool exclusive to the mission. That means you’ll have to learn how to deploy and activate the Hellbomb amidst the chaos of battle. This guide will help you with that by walking you through the important steps, including identifying your targets, deploying the Hellbomb, and escaping the blast radius. You’ll also learn how to keep an eye out for potential threats that could compromise your mission.
RELATED ARTICLE: Helldivers 2 - How To Destroy Fuel Silo?
What is Your Objective in Helldivers 2?
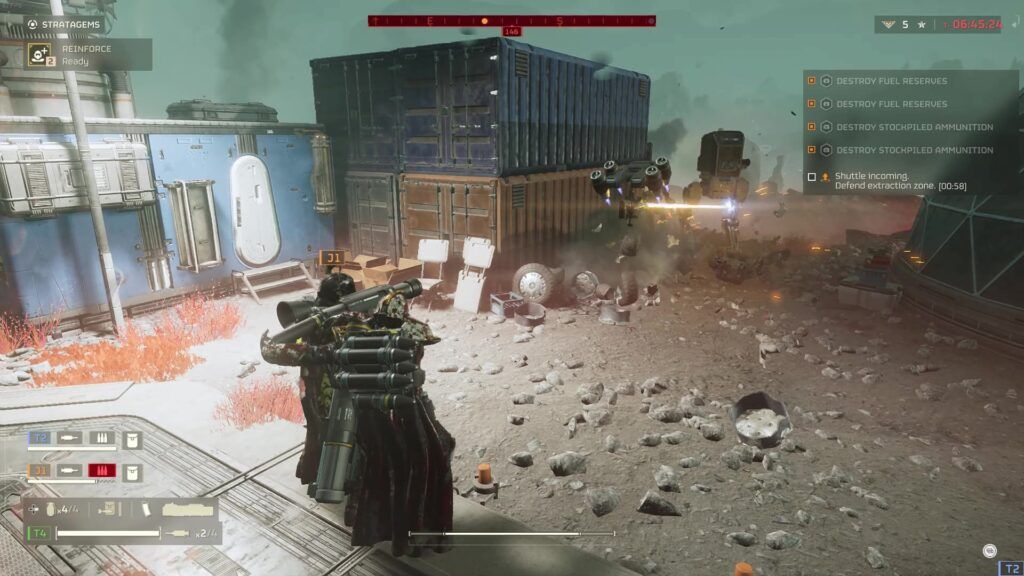
In Helldivers 2, you go on objective in Automaton-controlled areas. You’ll run into tasks that involve destroying fuel silos and ammo stockpiles. As you progress to harder difficulty levels, these objectives get more important. Taking out the ammo stockpiles isn’t just about causing chaos. It’s also about tactically weakening the enemy’s ability to fight back and keep going in long battles.
The Strategic Use of Hellbombs
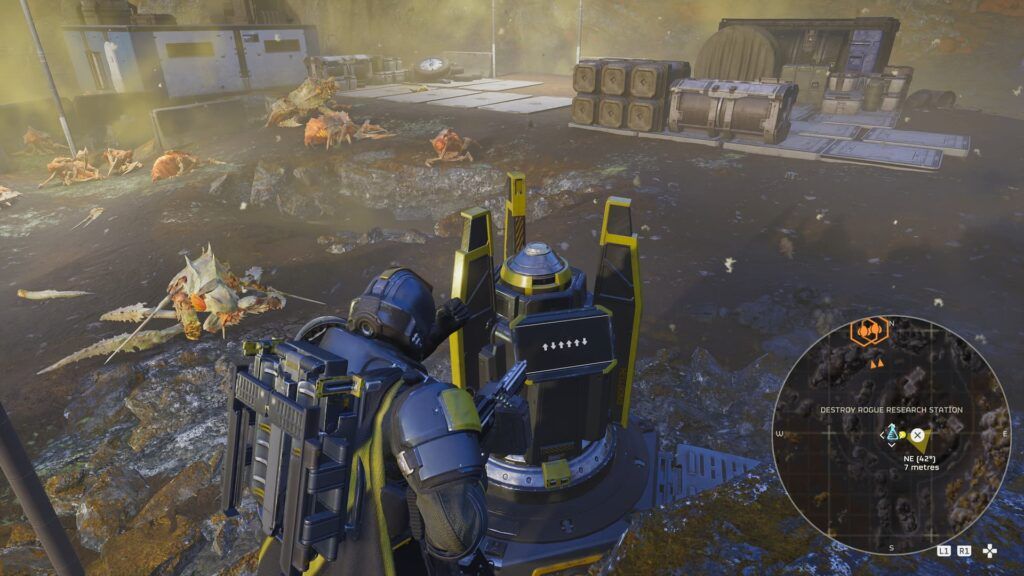
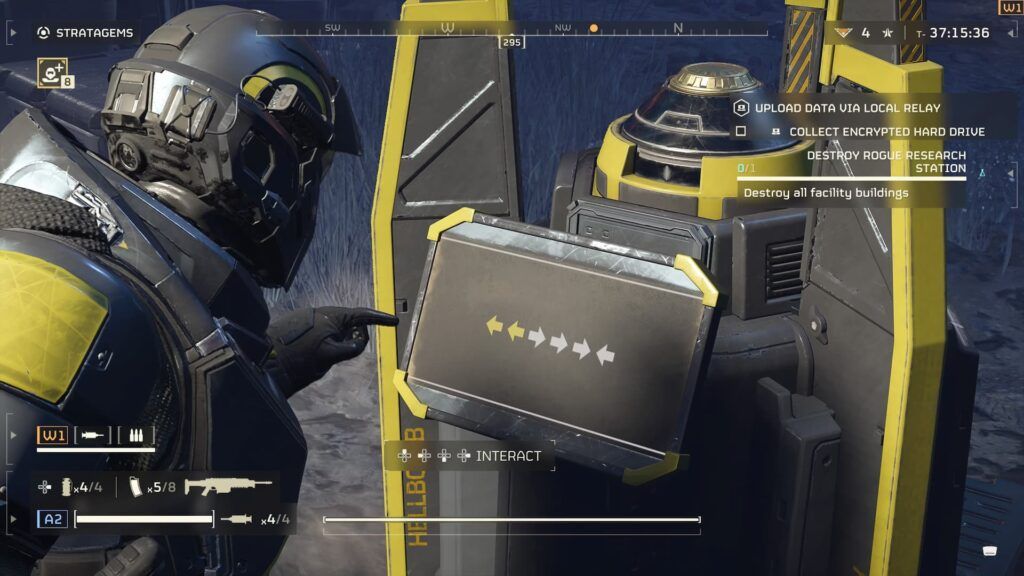
The Hellbomb Stratagem plays a pivotal role in these missions. Unlike your conventional weapons or even Orbital Strikes, the Hellbomb is specially designed for these high-value targets. Players must familiarize themselves with the process of calling in the Hellbomb Stratagem, which becomes available upon entering the mission area. The sequence to deploy this Stratagem involves a specific input combination, underscoring the game’s emphasis on skill and tactical planning.
Mission Execution: A Step-by-Step Approach
Upon reaching the mission area, players need to locate and identify their objectives:
- Fuel Silos: These are large cylindrical towers requiring the deployment of Hellbombs for their destruction.
- Ammunition Stockpiles: Typically represented as stacks of cylindrical explosives or missiles, they also require Hellbombs for effective neutralization.
Deploying the Hellbomb near these objectives is just the first step. Players must then activate the bomb and move to a safe distance to avoid the blast, repeating the process as necessary until all objectives are cleared. It’s a test of precision, timing, and situational awareness, as enemy forces, including Automaton Outposts or Dropships, may attempt to thwart your efforts.
Tactical Tips and Considerations
- Grenades and Surrounding Explosives: For ammunition stockpiles, a well-placed grenade or shooting nearby explosive containers can be effective. This approach leverages the environment to your advantage, creating chain reactions that can lead to the successful completion of your objective with minimal resources expended.
- Awareness of Bot Fabricators: Both fuel silos and ammunition stockpiles are heavily guarded, often with Bot Fabricators nearby. It’s crucial to be mindful of these defenses, as they can significantly impede your mission if not addressed properly.
Successfully carrying out missions to destroy ammunition stockpiles in Helldivers 2 is about combining the right tools with strategic planning and execution. The Hellbomb Stratagem is your best ally in these endeavors, offering a powerful means to achieve your objectives. Remember, teamwork, when applicable, can amplify your efforts, making each mission not just a challenge but a testament to cooperative strategy and tactical prowess.
Helldivers 2 continues to challenge players with its deep strategic elements and engaging gameplay mechanics. Whether you’re strategizing to destroy enemy fuel silos or ammunition stockpiles, the key to success lies in understanding the tools at your disposal and executing your plan with precision and forethought.


